Best practices for deploying Laravel
After all the work you've put in to your application, it deserves to be deployed and shown to the world.
This article describes the best practices for deploying a Laravel application.
Below is a summary of the best practices:
- Have an automated deployment script
- Automatically run your tests before deployment
- Build your application in CI/CD (not on your server)
- Deploy only what is necessary
-
Deploy
--no-devcomposer packages - Use a zero-downtime strategy
- Run all of Laravel's optimization commands
- Flush OPCache the right way
Have an automated deployment script
Of all the best practices in this article, this is the most important one.
If you are currently deploying your application by hand using FTP or SSH, the biggest improvement you can make is switching to an automated deployment script.
Deploying a Laravel application consists of a number of steps, such as restarting the queue and flushing OPCache.
If you deploy by hand, you are always running the risk of forgetting a step and breaking your application.
You might run a deployment at the end of the day, forget to restart the queue, and wake up to a log full of errors.
A good automated deployment script will always run a perfect deployment without the risk of human error.
It saves you a bunch of time and work too.
Automatically run your tests before deployment
Deploying broken code to your server is a sure-fire way to lose the trust of your customers.
A good way to prevent this is by having a suite of thorough automated tests.
To minimize the chance of deploying broken code, run your tests before deploying your application, and abort the deployment if any test fails.
Running your tests should be part of your automated deployment script, and should not rely on you remembering to run them before you deploy.
This might go without saying, but don't run your tests on your production server.
Not only will this slow down your server, but you also run the risk of the RefreshDatabase trait wiping your production database if you make any configuration mistakes.
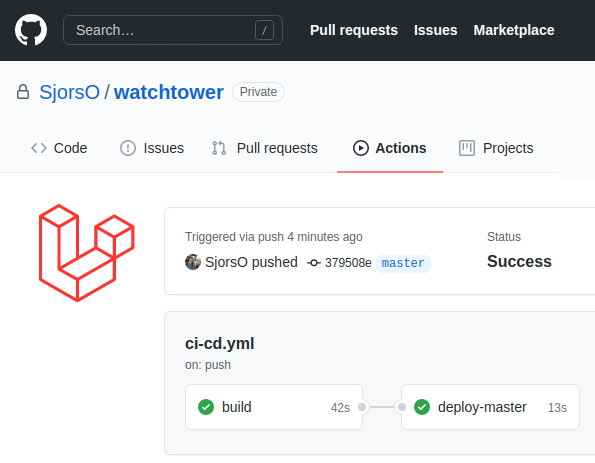
The best place to automatically run your tests is inside a CI/CD runner, such as GitHub Actions or GitLab Pipelines.
Build your application in CI/CD (not on your server)
Make sure that the bundle you are deploying to your server is the exact same bundle that passed your test suite.
If you are building your application locally and your tests pass, that does not guarantee that the build your server creates also pass the tests.
Your server might be running a different npm or composer version that might cause errors in the build.
Like described in the previous paragraph, it is a best practice to automatically run your tests in a CI/CD runner before each deployment.
The CI/CD runner builds your application, and then runs your tests.
The build you made in CI/CD passed the tests, so that is the build you want to deploy to your server.
Deploy --no-dev composer packages
Your composer.json file has two sections: "require" and "require-dev".
The require-dev section lists all packages that you only need during development, these are usually testing or debug packages.
These packages are should only be used during development, and should never end up in production.
Installing your development packages in production is bad.
For example, there is at least one instance where a website deployed Laravel Debug Bar to production
, causing a serious security issues.
You can make Composer only install production packages by running composer install --no-dev.
Make sure this is a step in your automated deployment script.
Deploy only what is necessary
As explained previously, it is a best practice to build and deploy your application from a CI/CD runner.
After your application is built and your tests have passed, the CI/CD runner uploads this build to the server.
You can speed up your deployment by not deploying files that your production server doesn't need.
For example, the huge node_modules directory is only required to build your application, it can be excluded when you upload the build to your server.
Another directory that can be excluded is the tests directory.
Use a zero-downtime strategy
Deployments should not cause downtime for your users.
You can achieve this by using a zero-downtime deployment strategy.
In short, this means you want to prepare your new release in a separate directory, and then activate it when it is completely ready.
For example, if you delete and replace your production application each time you deploy, you are causing downtime each deployment.
This means that any user making a request to your server during a deployment will get an error.
Using a zero-downtime strategy prevents these types of errors.
Run all of Laravel's optimization commands
Laravel has a handful of optimization commands built-in.
The most notable of these commands are artisan config:cache, artisan route:cache and artisan view:cache.
These commands speed up your application and should be run after each deployment.
If you deploy by hand, there is a risk that you forget to run these commands after a deployment, which will cause errors.
If you have an automated deployment script, there is no downside to running these optimization commands.
Flush OPCache the right way
Having OPCache enabled on your production server is a no-brainer.
OPCache has to be flushed after each deployment, this should be a step in your automated deployment script.
A common approach to flushing OPCache is by restarting the PHP-FPM process, this is fine, but not a best practice.
Restarting the PHP-FPM process could result in dropping requests and temporarily slowing down all PHP applications on the server.
Running this command also requires sudo, but since your deployment script can't enter a sudo password, you'll have to configure your server to allow this command without sudo.
Some managed webhosting providers don't allow this sudo exception, in which case you can't use this approach to flush OPCache.
The best practice for flushing OPCache is by calling the opcache_reset() PHP function.
This is a bit of a hassle, because you can't run this function in the CLI, because that flushes the CLI OPCache, but you have to flush the web OPCache.
To flush the web OPCache, the opcache_reset() function has to be called via a web request.
You can achieve this with a step in your automated deployment script.
A best practice deployment script
If you want a deployment script that follows all the best practices described above, take a look at my GitHub Actions and GitLab Pipelines deployment scripts. These scripts work out of the box, and will save you hours of time and lots of frustration.
Deploy Laravel with GitHub Actions
Check out my Laravel deployment script for GitHub Actions
Check it out